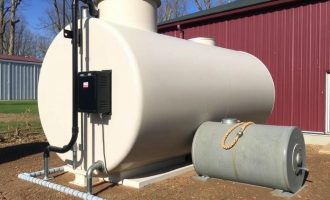
Septic systems are essential for homes that aren’t connected to municipal sewer lines. They treat and dispose of household wastewater safely on-site. But like any system with moving parts, septic tanks require maintenance to operate efficiently. One crucial component that many homeowners overlook is the septic tank filter. Installing a septic tank filter can increase the lifespan of your leach field, prevent clogs, and reduce costly repairs. If you’re wondering how to install a septic tank filter, this comprehensive guide will walk you through every step, making the process simple and doable—even if you’re not a professional plumber.
- What Is a Septic Tank Filter and Why Is It Important?
- Benefits of Installing a Septic Tank Filter
- Tools and Materials Needed for Septic Tank Filter Installation
- Step-by-Step Instructions: How to Install a Septic Tank Filter
- Step 1: Locate and Access the Septic Tank Outlet
- Step 2: Remove the Existing Outlet Filter or Baffle
- Step 3: Clean the Outlet and Prepare for Filter Installation
- Step 4: Insert the Septic Tank Filter
- Step 5: Secure the Filter and Close the Tank
- Step 6: Schedule a Professional Septic Inspection
- Maintaining and Cleaning Your Septic Tank Filter
- How to Clean a Septic Tank Filter
- Common Mistakes to Avoid When Installing a Septic Tank Filter
- How Much Does It Cost to Install a Septic Tank Filter?
- Additional Tips for Extending Septic System Life
- Frequently Asked Questions About Septic Tank Filters
- How do I know if my septic tank needs a filter?
- Can I install a septic tank filter myself?
- How often should the septic tank filter be cleaned?
- Does installing a septic tank filter affect the pumping schedule?
- Will a septic tank filter fix a failing drain field?
- Summary Table: Septic Tank Filter Installation Checklist
- Conclusion
What Is a Septic Tank Filter and Why Is It Important?
Before diving into the installation process, it’s important to understand what a septic tank filter is and why it matters. A septic tank filter is typically a mesh or screen installed at the outlet of the septic tank. Its main job is to trap solids or sludge from leaving the tank and entering the drain field (also called a leach field).
Over time, solid waste escaping into the drain field can clog soil pores, causing system failure. By installing a septic tank filter, you ensure that only effluent (liquid waste) flows out, protecting your drain field and maintaining proper septic function. Plus, many local health departments and environmental regulations now require septic tank filters as a best practice.
Benefits of Installing a Septic Tank Filter
Installing a septic tank filter comes with numerous benefits that impact both your home’s sanitation and your wallet. Here are some advantages:
- Prevents solid waste from clogging the drain field, extending its life
- Reduces the need for costly septic system repairs and pump-outs
- Keeps wastewater cleaner and better treated before dispersal
- Easy to inspect and clean during regular septic maintenance
- Enhances environmental protection by preventing leaks and contamination
Tools and Materials Needed for Septic Tank Filter Installation
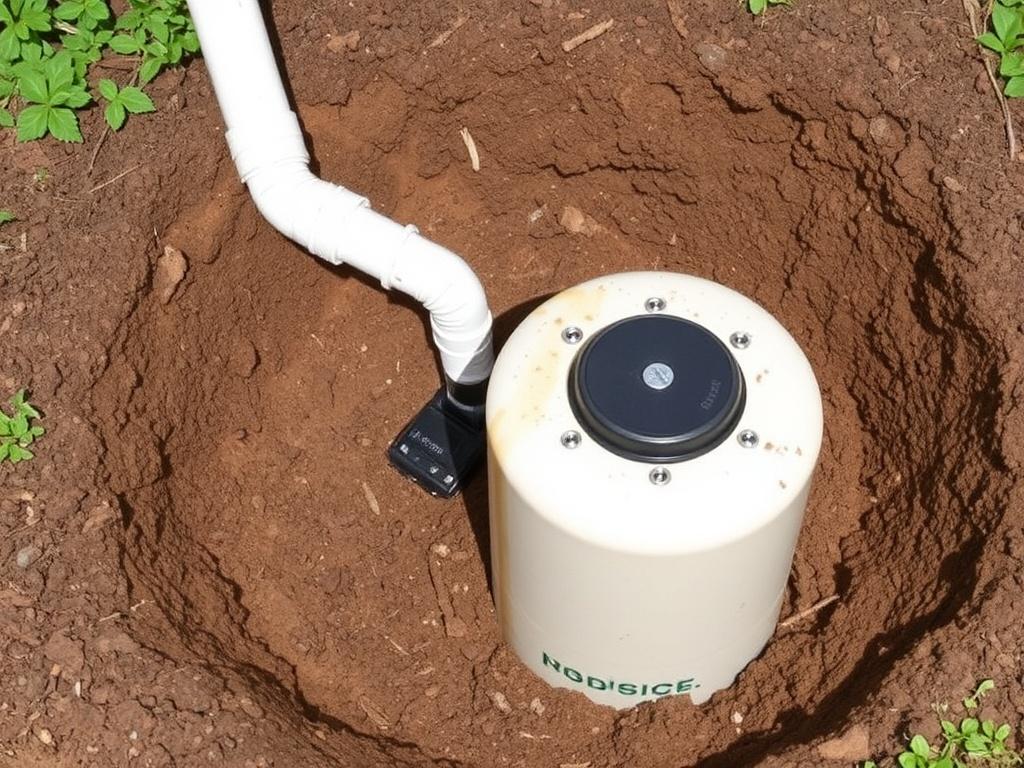
Before beginning, it’s essential to gather all the necessary tools and materials. This preparation will help the installation proceed smoothly and safely. Here’s a handy checklist:
| Tools | Materials |
|---|---|
| Adjustable wrench | Septic tank filter kit (compatible with your tank model) |
| Shovel (if excavation is needed) | Rubber gasket or sealant |
| Gloves | Protective glasses |
| Flashlight | Replacement bolts or hardware (if recommended) |
If you’re unsure about which septic tank filter to buy, consult your septic system manual or contact a professional. Filters come in different sizes and designs depending on tank models and regulations.
Step-by-Step Instructions: How to Install a Septic Tank Filter
Now that you understand what a septic tank filter does and have your equipment ready, let’s explore the step-by-step installation process.
Step 1: Locate and Access the Septic Tank Outlet
The first step is carefully locating your septic tank’s outlet. This is typically on the side of the tank where the effluent flows out into the drain field pipe. You might need to excavate a bit if the area is buried under soil or grass.
Use a shovel to gently remove dirt and uncover the tank lid or access port. Be careful to not damage the tank or pipes. Once the lid is exposed, open it to view the inside of the tank. Since septic tanks contain harmful bacteria and gases, always wear gloves, protective eyewear, and a mask if possible.
Step 2: Remove the Existing Outlet Filter or Baffle
Many septic tanks already have an outlet baffle or existing filter system. If this is the case, remove it by loosening screws or bolts using your adjustable wrench. Take care not to damage the tank outlet or surrounding pipework.
If your tank does not have any filter, skip this step and proceed to the next.
Step 3: Clean the Outlet and Prepare for Filter Installation
Before installing the new septic tank filter, clean the outlet area by rinsing away any sludge buildup or debris. This ensures a proper seal when you insert the filter. Use a rag to wipe the surfaces and check the rubber gasket or sealant for damage. If necessary, replace worn-out gaskets to avoid leaks.
Step 4: Insert the Septic Tank Filter
Take your new septic tank filter and insert it carefully into the outlet pipe. Most filters come with a rubber gasket or sealant to create a water-tight fit and prevent any leakage. Make sure the filter is firmly seated and properly aligned with the outlet pipe.
Depending on the filter design, you might need to twist it or secure it with screws or brackets. Follow the manufacturer’s instructions closely to guarantee a safe and effective installation.
Step 5: Secure the Filter and Close the Tank
Once the filter is in place, tighten any bolts or screws using the adjustable wrench. Ensure everything is snug but avoid overtightening, which can crack pipes or gaskets. After confirming the filter’s stability, replace the septic tank lid securely.
If you excavated soil around the tank, carefully backfill and compact the dirt to prevent settling or shifting. Be cautious not to damage or dislodge any pipes during this step.
Step 6: Schedule a Professional Septic Inspection
After installing your septic tank filter, it’s wise to schedule an inspection with a professional septic service. They can verify the installation, clean the filter, and check the overall system condition. Regular maintenance and inspections help prevent future problems and keep your septic system running smoothly.
Maintaining and Cleaning Your Septic Tank Filter
Installing the filter is only the first part of protecting your septic system. Regular filter cleaning is essential to keep the component functioning well. Viscous solids caught by the filter will accumulate over time and can block the septic outlet if not removed.
Most septic tank professionals recommend cleaning the filter at least once a year, often during your scheduled septic pump-out. However, if you notice slow drainage or odors near your septic tank, check the filter sooner.
How to Clean a Septic Tank Filter
Follow these simple steps to clean your filter safely:
- Open the septic tank access lid and locate the filter.
- Wear protective gloves and eyewear to guard against harmful bacteria.
- Carefully remove the filter and rinse it with a garden hose to wash away solids.
- If debris is stubborn, scrub gently using a soft brush.
- Inspect the filter for cracks or damage—replace it if necessary.
- Reinstall the clean filter and secure the tank lid properly.
Common Mistakes to Avoid When Installing a Septic Tank Filter
While installing a septic tank filter can be straightforward, mistakes can compromise your system’s function or cause leaks. Here are some common pitfalls to watch out for:
| Mistake | How to Avoid |
|---|---|
| Not wearing protective gear | Always wear gloves, goggles, and a mask |
| Poor filter fit or seal | Check filter compatibility and use correct gaskets |
| Overtightening screws or bolts | Tighten firmly but gently to avoid damage |
| Skipping professional inspection | Schedule expert check-ups to ensure proper installation |
| Failing to clean the filter regularly | Clean filter annually or more often if needed |
How Much Does It Cost to Install a Septic Tank Filter?
Cost is often a concern for homeowners considering upgrades to their septic system. Septic tank filter installation costs can vary widely depending on filter type, tank size, and whether you hire a professional or do it yourself.
On average:
- DIY septic tank filter kits range from $50 to $200
- Professional installation, including labor, can range from $200 to $500
- Costs may increase if excavation is required or if repairs are needed
Investing in a septic tank filter is usually cost-effective in the long run because it prevents expensive drain field replacements and system failures.
Additional Tips for Extending Septic System Life
Beyond installing and maintaining a septic tank filter, there are additional steps homeowners can take to extend the lifespan and performance of their septic system:
- Limit Water Usage: Excessive water can overload the system, so spread out laundry days and fix leaks promptly.
- Dispose Waste Properly: Avoid flushing harsh chemicals, oils, non-biodegradable items, or grease down the drains.
- Maintain Drain Field: Avoid driving or parking vehicles over the drain field to prevent soil compaction.
- Regular Pumping: Have the septic tank pumped every 3 to 5 years depending on usage.
- Plant Wise: Plant grass or shallow-rooted plants over the drain field, and avoid trees that can damage pipes.
Frequently Asked Questions About Septic Tank Filters
How do I know if my septic tank needs a filter?
If your system is older, or if you notice solids in your drain field or slow drains, it might lack an outlet filter. Many systems without filters are at higher risk for failure, so it’s wise to have a professional inspect your tank.
Can I install a septic tank filter myself?
Yes, many homeowners can install a septic tank filter if they follow manufacturer instructions carefully and take safety precautions. However, if you’re unsure, hiring a professional is recommended.
How often should the septic tank filter be cleaned?
Generally, clean the filter annually during septic tank pumping or sooner if you notice drainage issues.
Does installing a septic tank filter affect the pumping schedule?
Not significantly. You should continue pumping on your regular schedule, but a clean filter helps reduce solids entering the drain field, enhancing system life.
Will a septic tank filter fix a failing drain field?
No, a filter prevents future damage but doesn’t repair existing drain field failure. If your leach field is damaged, professional evaluation and repairs are needed.
Summary Table: Septic Tank Filter Installation Checklist
| Task | Tools/Materials | Estimated Time |
|---|---|---|
| Locate septic tank outlet | Shovel, flashlight | 30 minutes to 1 hour (with excavation) |
| Remove existing baffle or filter | Adjustable wrench, gloves | 10-15 minutes |
| Clean outlet and prepare for filter | Rags, water hose | 10-20 minutes |
| Install new septic tank filter | Filter kit, sealant/gasket, wrench | 20-30 minutes |
| Secure tank lid and backfill | Shovel, gloves | 30 minutes |
Conclusion
Installing a septic tank filter is a smart, cost-effective way to protect your home’s septic system and preserve your drain field. With the right tools, materials, and safety precautions, many homeowners can handle the installation themselves by following clear step-by-step instructions. Remember, regular maintenance—including annual filter cleaning and routine septic pumping—is essential to keep your system functioning smoothly for years to come. If at any point you feel unsure, consulting a septic professional can save you time, money, and stress. Ultimately, a well-maintained septic tank filter not only safeguards your property but also helps protect the environment by ensuring clean wastewater treatment. So take the plunge today—your septic system will thank you!
Помогла вам статья?


